3 Booting the Device
This chapter describes the specific operations for connecting cables and starting up the device.
3.1 Connecting Cables
Describes the cable connection method.
Preparation:
- Obtain the Power & I/O cable to be connected (M12 connector to bare wires + RJ45).
- Prepare a DC 24 V 1 A power adapter and connectors for auxiliary wiring.
- Prepare the required connectors and wiring tools for the Power & I/O cable as needed.
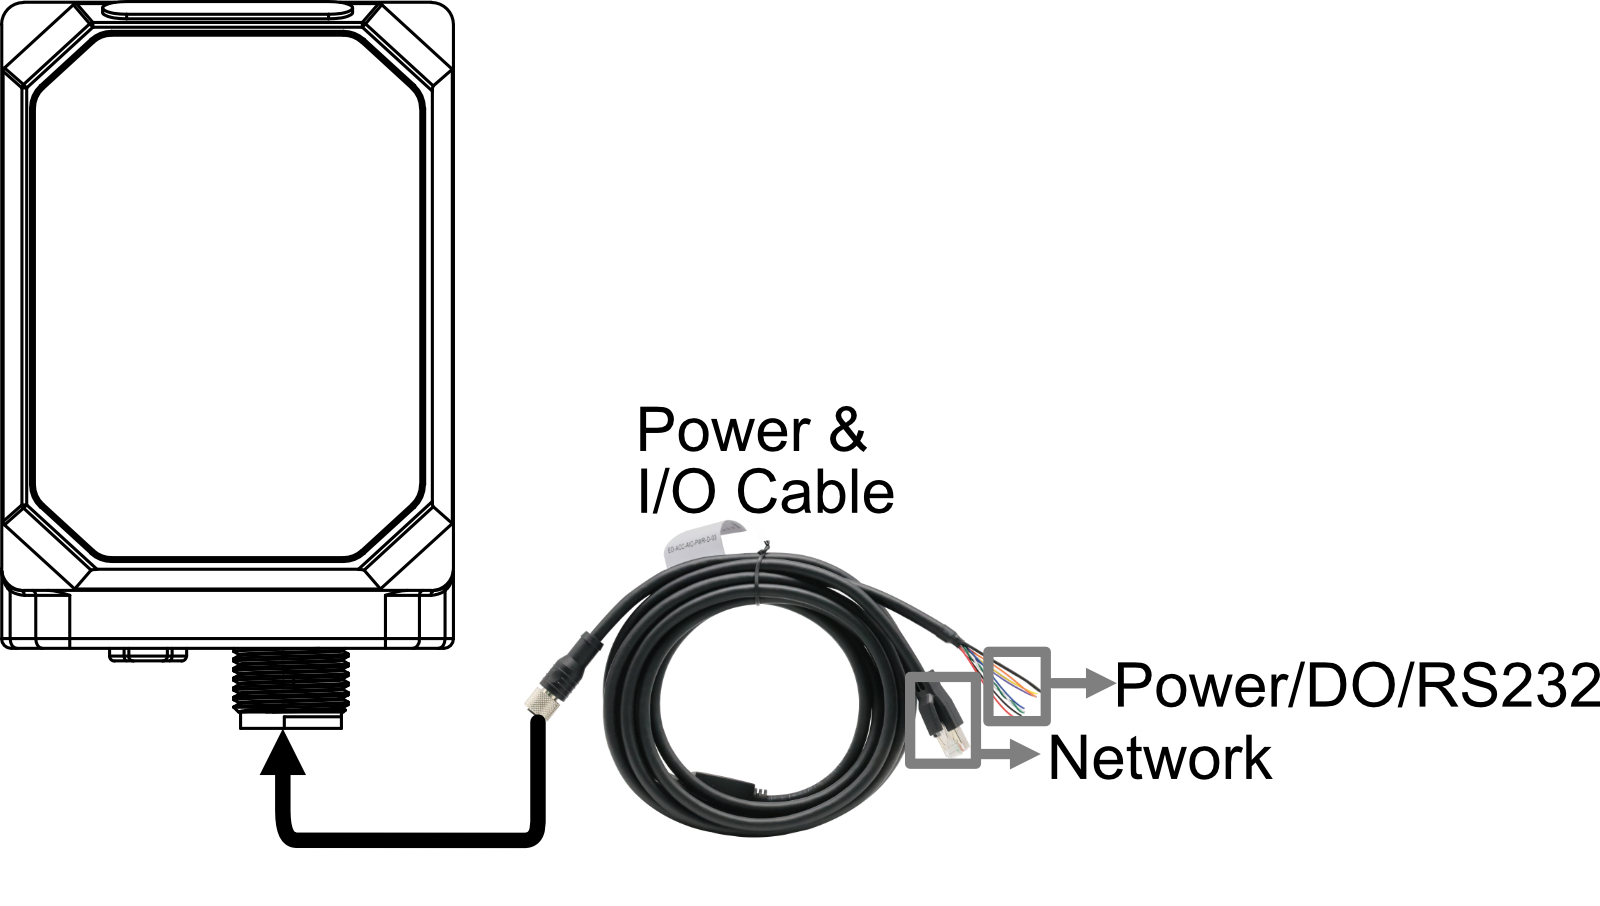
Schematic diagram of connecting cables:
For the pin definitions of each interface and the specific wiring methods, please refer to 1.5 Interface.
3.2 Booting The System For The First Time
The ED-AIC1000 device has no power switch. Once connected to power, the system will begin to start up.
- The power indicator lights up red steadily, indicating that the device is powered normally.
- The working status indicator light is green solid (controlled and set to ON via SDK), indicating that the system starts normally.
After the system starts, login is performed using the default username and password by default. Since the camera cannot be connected to a monitor, you need to remotely log in to the system via a PC. The factory image of the ED-AIC1000 device enables SSH by default and sets the device IP to a static IP: 192.168.1.10. Users can remotely connect to the device via SSH. The following uses logging in via MobaXterm as an example.
Preparation:
- The
MobaXtermtool has been installed on the PC. - The device has been connected to the network through the router.
- IP address of the device has been get.
Steps:
- Open
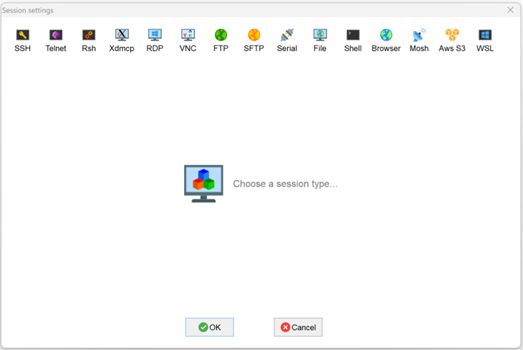
MobaXterm, click , and open the window for creating connection, as shown in the figure below.
- Click
 in the upper left corner to open the SSH connection interface.
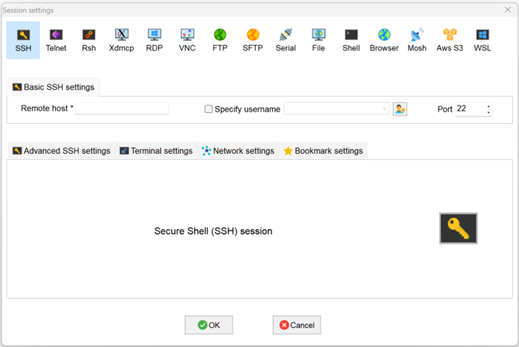
- After entering the IP address of the obtained device, click "OK".
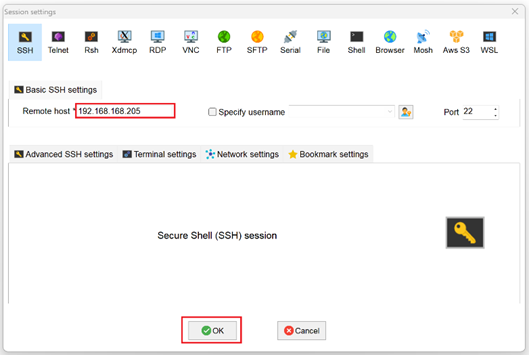
- Click "Accept" in the pop-up prompt box to enter the system login interface.
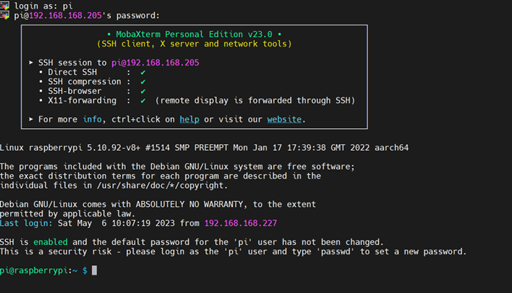
- Enter the username and password according to the prompt, and enter the system after logging in.
TIP
Default username is pi, Default password is raspberry.